


 |
|
Top Row: Lunch Bag, Licorice (always with me in the mountains! he
only candy I don't binge on!), water, thermos and Insulated cup for really cold
or storm days (Its pretty dreamy to pull out the steamy chilli or soup at the
windy col!) Emerg Kit: More on this later. Radio: I'll bring sometimes if there is a repeater nearby or if its a large group so we can spread the weight out, nice if you need to communicate with a rescue team and helicopter. These are not easily available unfortunately. Gloves: Big warm pair and lightweight pair (often two light pairs). I really like XC skiing gloves as they are cheap, have no leather (which stays wet all day) and are made for high output, perfect for the up track. Sun glasses, Buff, Sun hat and extra toque. Goggles: I really like the Julbo low light polarized lens, these are not cheap but man they are the best I've ever tried. Petzl Bag: Odds and ends, more on this later. Crystal Screen: For cleaning skis and bindings from ice and doing the odd form identification. Camera: This is a Canon G15, I like these bomber cameras, they are good in low light and take a beating. That's a waterproof Inate case. Shovel: I like a big blade as I have felt the difference it makes in moving snow in many practice scenarios. I use the lighter 'G3 Spade' handle to save weight. Avalanche Beacon: Ortovox 3+, I like the simplicity and functionality for multiple burial. All Beacons are good these days, practice is everything. Probe: BD 265cm Alum. Good but there are arguments for a longer option certainly. Pack: Modified Patagonia ascentionist, more on this later. Helmet: Solomon Mtn Lab. I made a commitment to wear a helmet all last year and I am totally used to it now, its great and would likely make a difference in a really bad tumble or small avalanche sweeping me trough the trees. Rad Kit: More on this later. Puffy: Patagonia Nano Storm. I use this 90% of the time, its waterproof and a long cut so offers great protection, allowing me to often skimp on other shells, knowing I have it. If its -15 or colder I bring the DAS parka, which is a freaking INFERNO. |
 |
|
I come from a
climbing background so my bias is towards light and streamlined packs which are
favoured by climbers, I am also just very attracted to these designs
aesthetically. This is Patagonias lightest most technical climbing pack. It
weights under a kilo yet has everything you would ever need. I removed the hip
pads as all I have ever needed in the mountains is a webbing belt. The frame is
taken out and replaced with a folded piece of 5mm evazote which contours and
forms to my back better then any frame. This means packing needs to be done
with a little more care but I am used to it and its very comfy
|
 |
|
I asked a designer friend here in Squamish to add a simple compartment to
the inside of the pack tube, near the back. it has 2 tubes and a big pod for
the shovel blade. I really like it. |
 |
|
This lives in the top of my pack and
keeps the must haves separate from anything else in here. If this falls out in
the snow, I can easily see it. Keys go in here too. Sun screen, skin wax,
knife, headlamp with fresh batteries and ski strap. This little ski strap is
very useful for repairs and medical scenarios.
|
 |
|
The
Emerg Kit: Its probably a good idea to carry a little insurance in case shit
hits the fan, this is what I have narrowed it down to after some thought and
unfortunate learning experiences. Spot and Padded Case: This thing has saved the day once and I carry it on every outing now. I cant imagine how the outcome would have been if we wouldn't have had it. Spare Beacon Battery: Wrapped in duck tape. I wrap a lot of these little things in tape as you never have enough when you actually need it. AMK Bivi Bag: Waterproof. Lighter: For making fire in case of a forced bivi. Water Purifier Tabs: These weigh nothing and for me are worth keeping on hand for peace of mind in case we come across open water and need a drink. Probably over kill. FA Kit: This thing is focused on major wounds (ski edges, branch impalements, head wounds) so lots of gauze and dressings, about 2 x as much as a standard kit. Tape and moleskin for blisters. Meds are 4oomg IBUPROFEN and T3 as well a s Benadryl. All of this fits in a waterproof bag which is nice for the S Coast. |

 |
|
I bring this on
every tour now, leaving the screw behind for days without glacier travel. I use
it sans screw for controlled on belay ski cuts. This technique has taught me
more about ski cutting, snow and avalanches then anything else and turns
potential day ending decisions into learning experiences while being safe. It then
converts to a glacier kit when adding the screw.
Rope: 30M 6mm Petzl RAD Kit. While not cheap, this rope is a 'game changer', it is super light and very strong, certified for use as a single line, unheard of for this weight and size. Altitude Harness: The lightest harness in the world and actually comfy. Micro traction: I like to have this when you actually need to use this stuff in a crevasse rescue situation. Tibloc, biners, mini Prussia and 120 cm sling: With this I can make an anchor and turn a 3:1 into a 5:1. Screw: Petzl Laser Speed Light, the lightest in the world. 13cm is fine as if I use it, it will be in blue glacier ice and I'll be wanting to expedite the placement. This all fits neatly into a med size G3 skin bag. |

 |
|
Petzl has brought out the lightest and
most compact ski mountaineering kit to date: Leopard Crampons: Aluminum and
very packable Glacier Literide Axe: I added the grip rest as I really dislike
leashes, save those for my dreams :-)
|
 |
The crampons are very secure once
attached and I can pack them away very small and out of the way. Combine this
with the RAD and I can get into all kinds of nasty situations.
|
 |
This Kit focuses on daily driver type
of days in the Spearheads, Duffey Lake environs and the mountains around
Squamish where I live. This kit emphasizes protection from wet snow and is warm
and more windproof so conversely, less breathable. I am OK with this trade off
for the upswing in protection from the big pacific storms that hammer us on a
typical cold mid-winter day out.
Jacket: Patagonia weather resistant softshell (proto), supposed to be near waterproof but very breathable. Will supplement with a waterproof shell some days I am sure. Pants: Patagonia Refugative, the best I have ever had for a hard shell using GORE C-Knit 4 way stretch fabric. Side vents for big time heat dumping. Base Layer: Patagonia Merino Air, I have yet to find a merino system that doesn't completely disappoint me as the stuff absorbs over 70% of its own weight in water and basically does not wick, but abosrbs.
However, this stuff is blended with 50% poly and has a very open and
breathable knit. I am stoked to try it.
|
 |
|
Another Option with Refugative jacket
and Nano Air vest for cold and storm days with maybe a bit of rain down low.
|
 |
|
All Softshell: For me, nothing works
better then clothing with high CFM breathabilty ratings for high output. Again,
XC skiers have been wearing this stuff forever and even in inclement weather,
it keeps you warm and comfortable unless its really hectic out.
Jacket: Patagonia Houdini, this is the best jacket I own. It fits in my pocket, is basically wind proof and is super light. Pants: Patagonia prototype, these are great and made out of one of my favourite fabrics patagonia has ever used, that of the levitation line of jackets. Great durability and wind resistance but also water resistance and breathabilty. Vest: Patagonia Nano Air Vest, breathable insulation is very cool and I can leave this on for way longer then a lot of other insulations i've tried. This thing comes with me 99% of days. Hoody: Capilene Thermal Weight, the warmest but still very breathable. My go to desert island piece. The hood can replace a toque for surgical alpine strikes or just a second back up toque for peace of mind. |
 |
| Spring Suppliment: For Spring when its extremely hot and sunny, I have stumbled uptown these hoodies designed for fly fishing. They are really breathable and have 40 + UPF, the hood covers your ears and nose as well and allows you to wear less sun screen as I always end up with a big splotch of it that stays there all day somewhere awkward. I can wear this next to skin and survive the epic heat and insolation of the spring. |


 |
| With the gondola opening at 10am! (seriously, we want early starts people!), a from the road approach was needed. I bolted awake at 330 because I could barely sleep anyway and busted up a strange hybrid of the S2S and Evac trails which worked well and I was at the top station by just after 5. |
 |
| The sun was coming up now and the mountains started to wake up with splashes of orange, azure and chrome. |
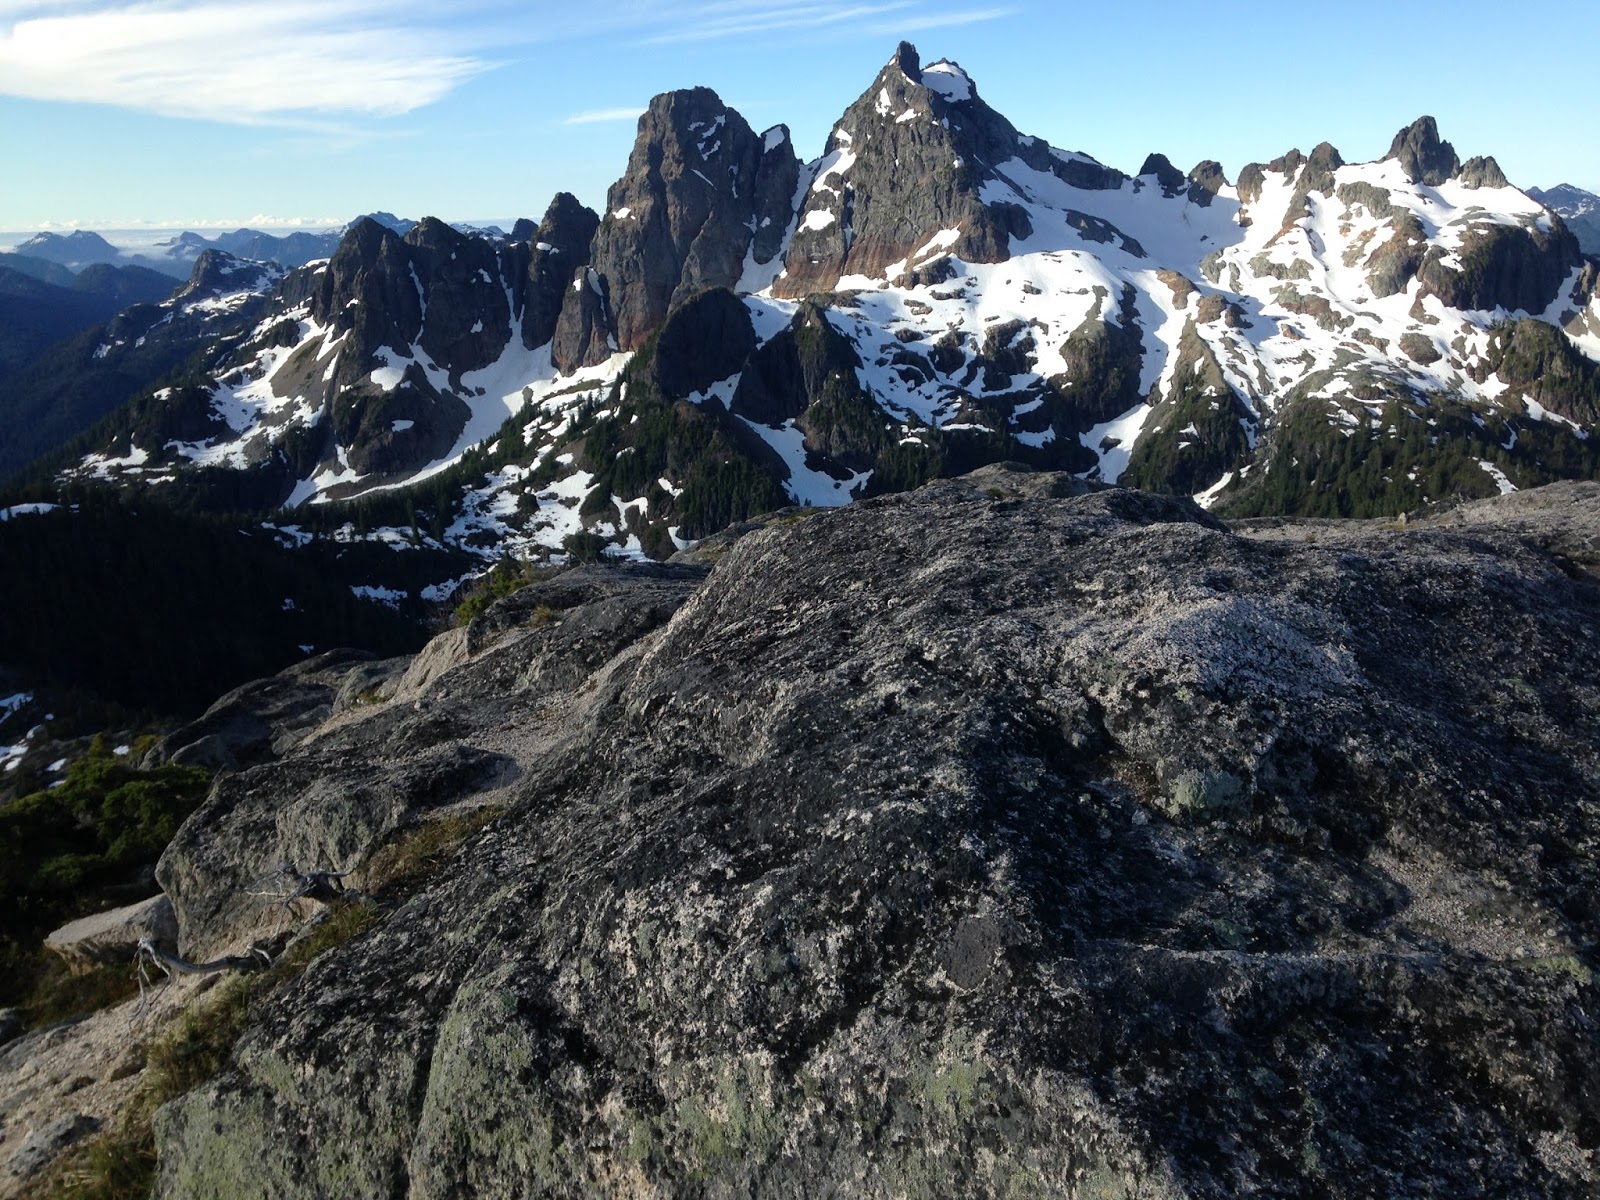 |
| I hadn't been up the NW side of Mt. Habrich before but I had the benefit of an examination of it while on rappel after climbing another route on the S face previous. I approached it with an open mind and didn't encounter any trouble on the way to the summit, my preference was for bomber rock over vertical bushwhacking so I think I did a hybrid of the Colin Haley expressway and the route escape velocity, with a move or two of easy 5th class here and there to surmount the walls between ledges. Was at the summit 3hr and 15m after leaving the car. Habrichs summit is a real climbers summit and is pointy and windy, pretty damn cool. |
 |
| The SE face, originally I wanted to go up this way and do the
traverse in the opposite direction but I have heard enough reports of
the climbing on the side being harder for a solo trip that I opted for
the familiar terrain instead. You can see 'the brain', which is the local name for the dome shaped feature in photo left which has caused routefinding issues for folks in the past. There are fixed lines down a gulley/bench system skiers left now and its a piece of cake. |
 |
| A lot of work has been done on the 'Skyline Trail' by locals I am guessing. There is good trail and/or cairns starting underneath the S Face of Habrich and going all the way to Sky Pilot where it branches low to get to the upper reaches of the Shannon Creek trail or you can go up, off trail to get to the upper stadium glacier. |
 |
| Gunsight Gap, no trail here but easy going. |
 |
| Super cool and moody ambience . |
 |
| Looking back at the ridge, got to be a top 5 hike for me in itself, without all the nifty summits. You can hike this whole thing (skyline Trail) without any scrambling if you don't do the summits. |
 |
| The July 15/2016 state of the Stadium Glacier. I had approach shoes and a ski pole and that was all I needed. |

 |
| Summit of Sky Pilot, about 6 hrs and 25 min to here from highway. |
 |
| The snow field on Sky Pilot had this kind of 'in awe' expression with the open mouth but no eyes. |
 |
| Summit selfie on Co-Pilot in the mist. |
 |
| Looking back at Sky Pilot, so cool. |

 |
| I stravassholed the entire day. This was the read out on top of co-pilot, it took another hour or so to get back down to the lodge where I double-fisted a coffee and a nice lager, which was yet another highlight, by then it had cleared and I could look out across the ocean scheming of other similar S2S missions. Erin even joined me for a sweet plate of french fries. |
 |
| Bringing a fresh pair of your newest and cushiest socks for the descent down the trail is a real luxury and about as beaujolais as it gets. The other thing is tunes, pretty styly to cruise back down the trail listening to the grateful dead in your cushy socks. |